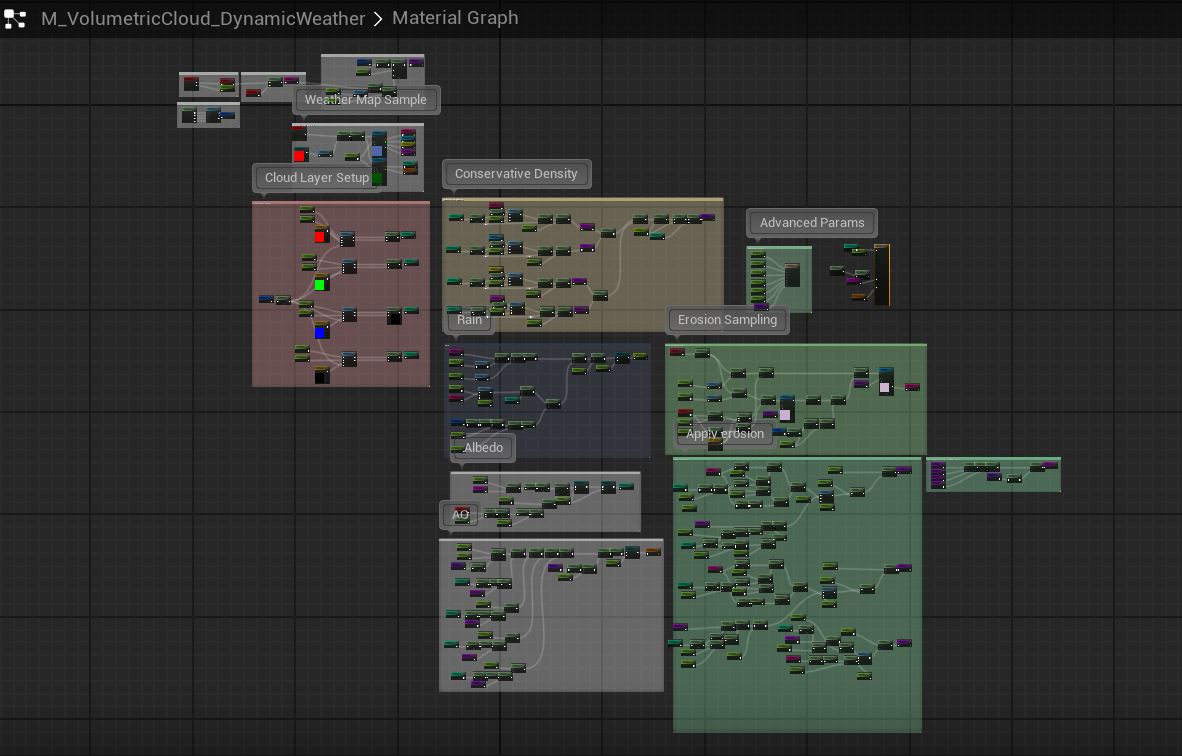
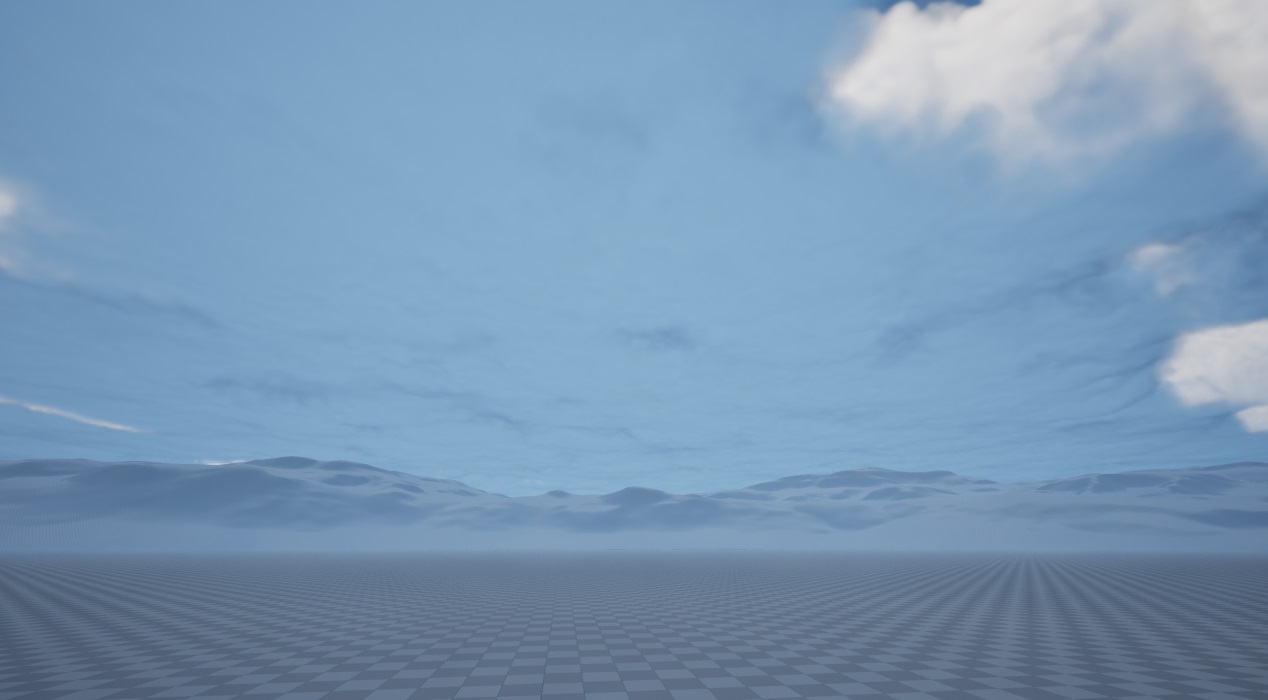
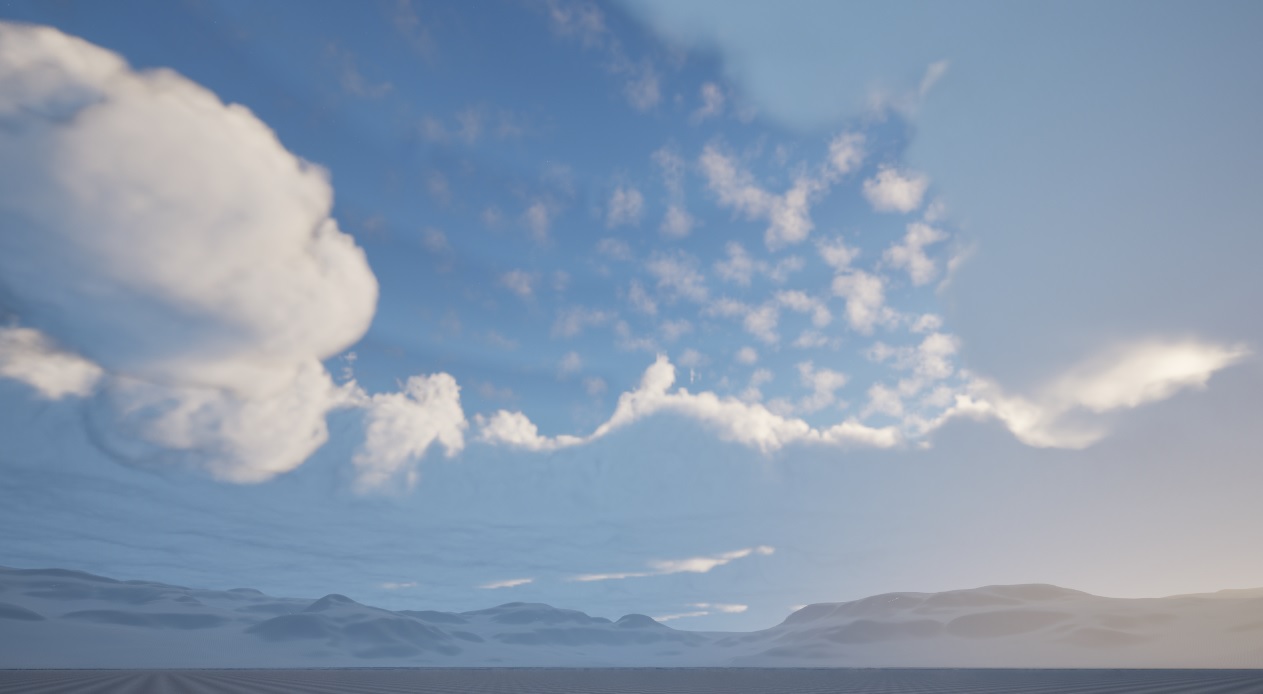
This is the big one, this project is my first attempt at creating custom low level shaders in Unreal Engine. After tinkering with volumetric rendering within Unreal for quite awhile, I could never get it to do what I wanted it to do. It was built to create clouds that can look good at a distance, and to be versatile. I wanted clouds that exist in the world in 3d space and can be flown through without a significant drop in quality for a flight simulator. Ultimately I wanted more control over how clouds and weather were created and rendered.
Initially I toyed around with the different built in volumetric tools. I created a concept where each cloud would be a Niagara system displaying a volumetric material as well as a volumetric mesh setup. While these could have worked I quickly realised that they would be impractical for scaling to a large 1000km2 world which I wanted. The solution was to create my own system and code a HLSL shader.
The goal for the projects was to create a plugin that allowed for the creation and rendering of clouds across massive worlds. Firstly I set some outlining goals:
The clouds would be rendered using common cloud raymarching techniques. I had a good understanding of these methods already from my previous work in the default shader and there are many great papers and talks from AAA developers about this topic.
The renderer should have a smart system of knowing where clouds are not to speed up rendering. In the default shader, every pixel of the screen that intersects the minimum distance above the level runs the raymarching shader. There is a conservative density pass that you can first run your cheap calculations through. But ultimately I was limited by the material editor on how cheap you could get this pass. Working from the ground up would enable cheaper early exits for the shader.
The system would need to work on large worlds, with potentially thousands of clouds. The old system I built created a weather map in a render target that decided where clouds were. The resolution of this render target limited the detail of the clouds and how big of an area the weather map could cover before repeating. Plus the weather map material created its own GPU costs. This was not necessarily scalable to large worlds.
Next the system would work with multiplayer and can be replicated. Because by default the clouds are entirely material based the server would have no idea where clouds were.
Lastly the CPU would have data on cloud position, density, etc for use with AI and replication verification.
Basic Rendering Setup
These are a set of tough goals so I started with the basics, just getting a handle on creating a custom HLSL shader and creating a custom render pass.
After spending far too long reading the source code of the built in cloud shader I decided on a rendering architecture. Without modifying the engine code you are limited with where you can place a custom render pass. The options are basically before the main pass, after the main pass, at the start of the postprocessing, or after postprocessing. You may also place passes at specific points within the postprocessing pass.
I broke the cloud shader up into two parts. One would conduct the ray marching and output that to a render target. This would then be held until a point in the post processing pass where it would be composited into the scene colour, depth, or wherever else it was required. I ran into a couple problems with the composite pass occurring after the screen had been scaled when screen percentage scaling was enabled. Most of the time in game the screen percentage is 100% so no scaling is required but often in the editor, the viewport is rendered at a smaller resolution then during or after post processing it is scaled to the final resolution. To support this feature I needed to be careful to work in buffer space, not viewport space, as viewport space is the final upscaled resolution, not the size of the rendertarget. Also the composite pass would need to happen before any upscaling in the postprocess step.
This method also allowed me to easily render the raymarch pass at a lower resolution to save on performance, then scale it to full resolution in the composite pass. Currently I’m rendering the cloud image at half the resolution of the buffer, meaning it runs roughly 4x as fast, at the cost of some quality.
I created a ViewExtention and other support classes, and set up the two pixel shaders as well as a fullscreen triangle vertex shader to apply the pixel shaders to. There is a built-in fullscreen triangle shader, but I implemented my own for maxim control.
For initial testing I just wanted the shader to conduct a trace from each pixel in the correct direction. To display this I have the shader return the colour red, if the trace intersects a sphere at absolute world position 0,0,0. One major change from previous versions of unreal is the use of the LWC (Large World Coordinates) system within rendering. This uses double floats for extra precision to handle large worlds. Also the idea of Absolute world space vs translated world space. To prevent floating point error, world positions would be dealt with in Translated world space, that is world space relative to the camera. This was written to two render targets, one for colour and one for depth. These were then passed to the composite shader.
The composite shader does a depth aware bilinear upscale to match the cloud render target resolution with the overall buffer resolution, then adds the cloud colour to the scene at the beginning of postprocessing.
Overall the rendering architecture is as follows:
UAdvancedCloudRenderingSubsystem adds and manages the FCloudRenderingSceneExtention. The scene extension handles gathering data from the CPU and passing it to the GPU shaders. After the main pass the cloud pass is run to fill out the cloud render targets. Then at the beginning of postprocessing the clouds are composited into the scene.
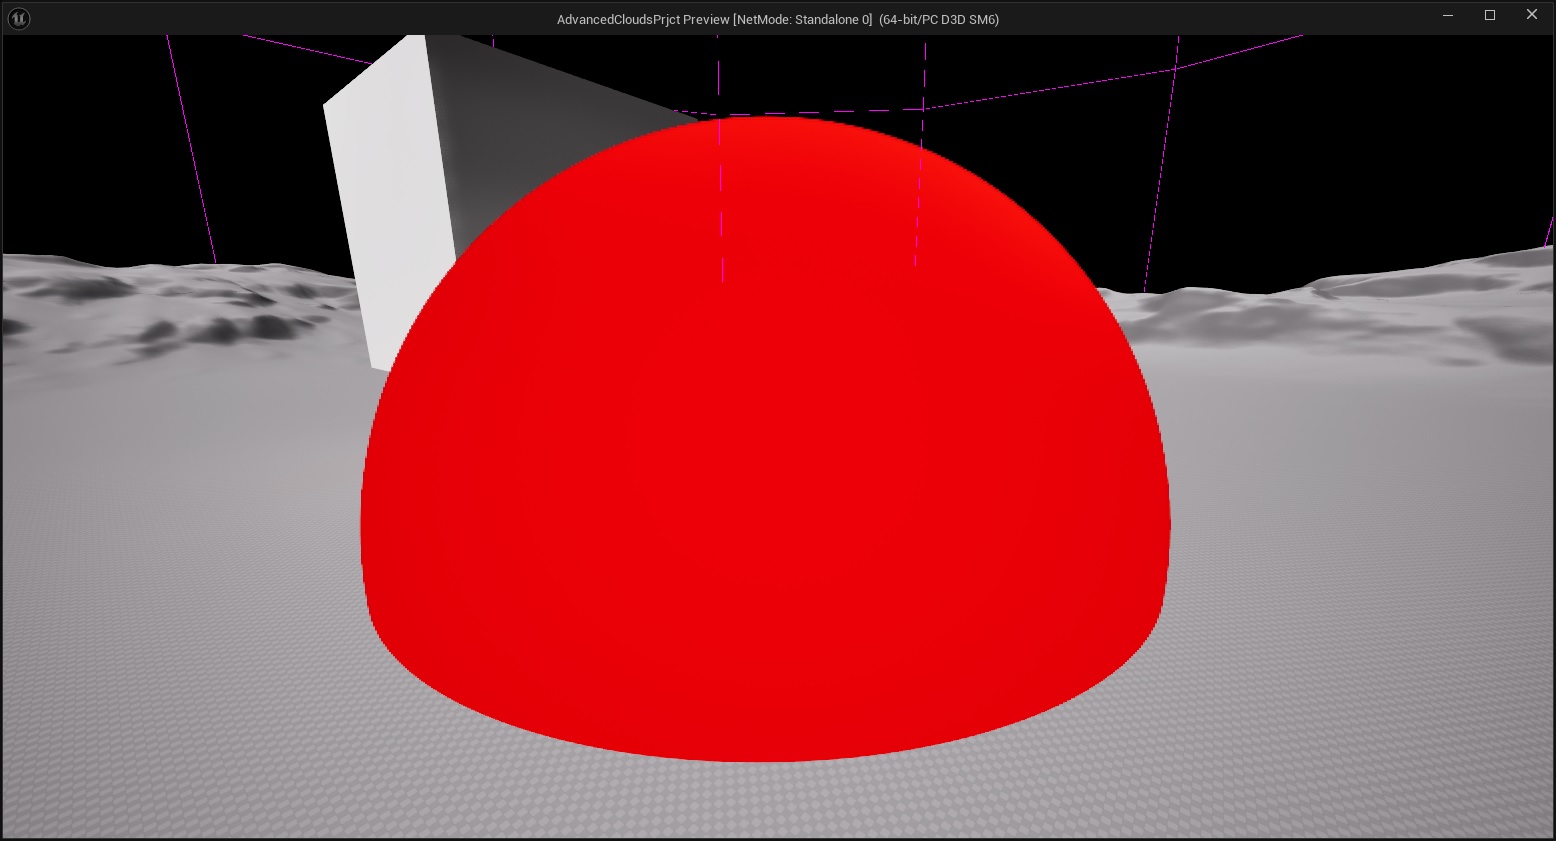
Red ball composited into the scene by the cloud shader
Cloud and Weather system
The next step in the process is to set up a system that feeds cloud data into the shader. It will need to tell the shader in which areas to run a raymarch to create clouds. The built in cloud shader uses a planet sized sphere intersection to tell the shader where to run. I wanted to create a different system that instead only ran the shader in areas of the sky where clouds actually were. In addition to this, the system should allow for the creation of clouds to be done on and managed by the CPU. This way would simplify the creation and replication of weather as well as allowing AI to utilize cloud data.
My first attempt was to create a cloud manager actor, ACloudManager. This would store an array of FCloudInstance, a struct which contained all the data about a specific cloud such as position, size, cloud type, etc. This array would then be converted into a GPU Buffer and uploaded to the GPU for use in the shader. I created a child of this class that managed streaming of clouds close to the player camera, uploading only nearby clouds to the buffer.
This system worked well, but presented a few issues that would impact performance. Firstly each ray in the shader needed to check for intersections with every cloud instance in the buffer. The performance impact of this would be huge when the system was scaled to thousands of clouds. I’m sure there is a mathematical way of optimizing such a loop but I already had a better idea for FCloudInstance storage.
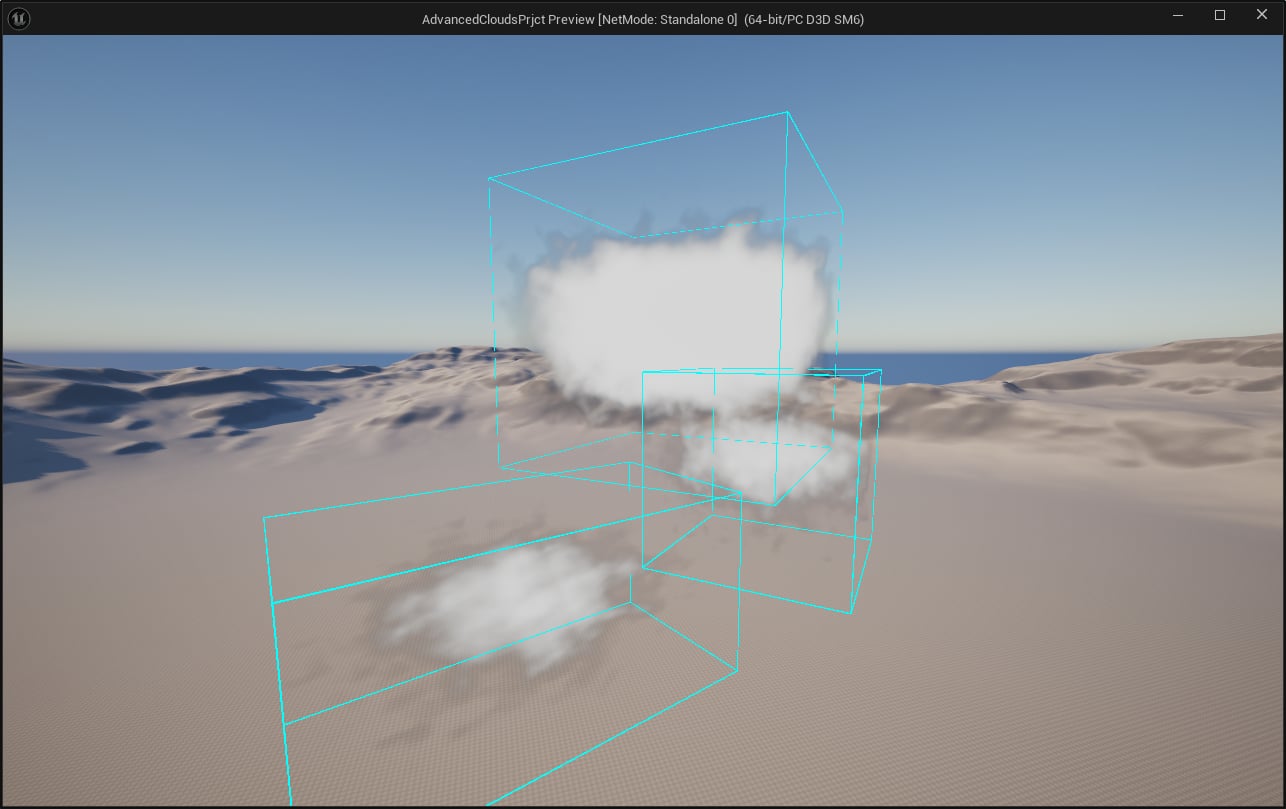
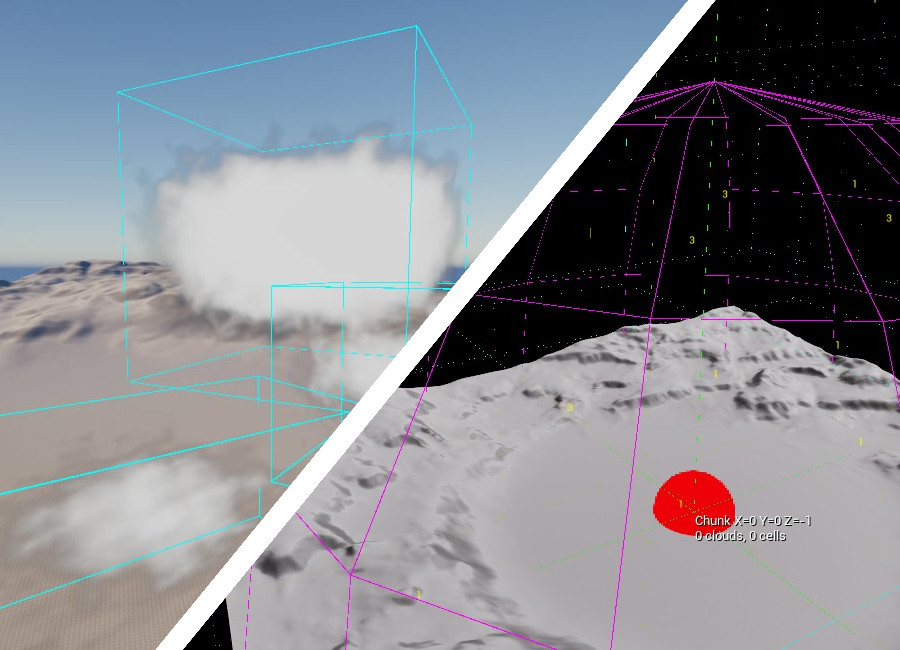
intital cloud tests using actor volumes
The Cloud Grid system
Instead of storing the cloud instances with an actor, I wanted to store them within a WorldSubsystem. This subsystem would divide the world space into chunks, then those chunks into cells. Each cell would store a reference to the index of what cloud instance bounds intersect that cell. A chunk would only have cells that contained at least one cloud.
Chunks could easily be streamed and their positions rebased based on player view, allowing for easy compatibility with extremely large worlds. And ray interaction over each cell can be optimized with a Digital Differential Analyzer Algorithm (DDA). This would skip empty space and allow for 1000s of cloud instances. Further the chunks could be used for wind simulation or other effects later on.
A downside of this would be that the subsystem itself shouldn’t replicate. Instead a deterministic procedural weather system should feed into the grid system, with this weather system handling replication. Another downside is an increased use of GPU memory, but an extra mb or two is trivial compared to the 3d noise textures used to render the clouds, so I wasn’t too worried.
When updating the grid GPU buffers I was careful to batch updates and perform them incrementally to prevent hitches, this would allow for FCloudInstances to move in the wind or change shape over time. A future feature would be that cloud movement is computed each frame without change to the buffer by using a wind vector and elapsed time. The buffer would be periodically updated and the cloud position would be checked against this and resynced if necessary. For now if clouds move, there is a semi-noticeable jump as the buffer updates are not performed each frame.
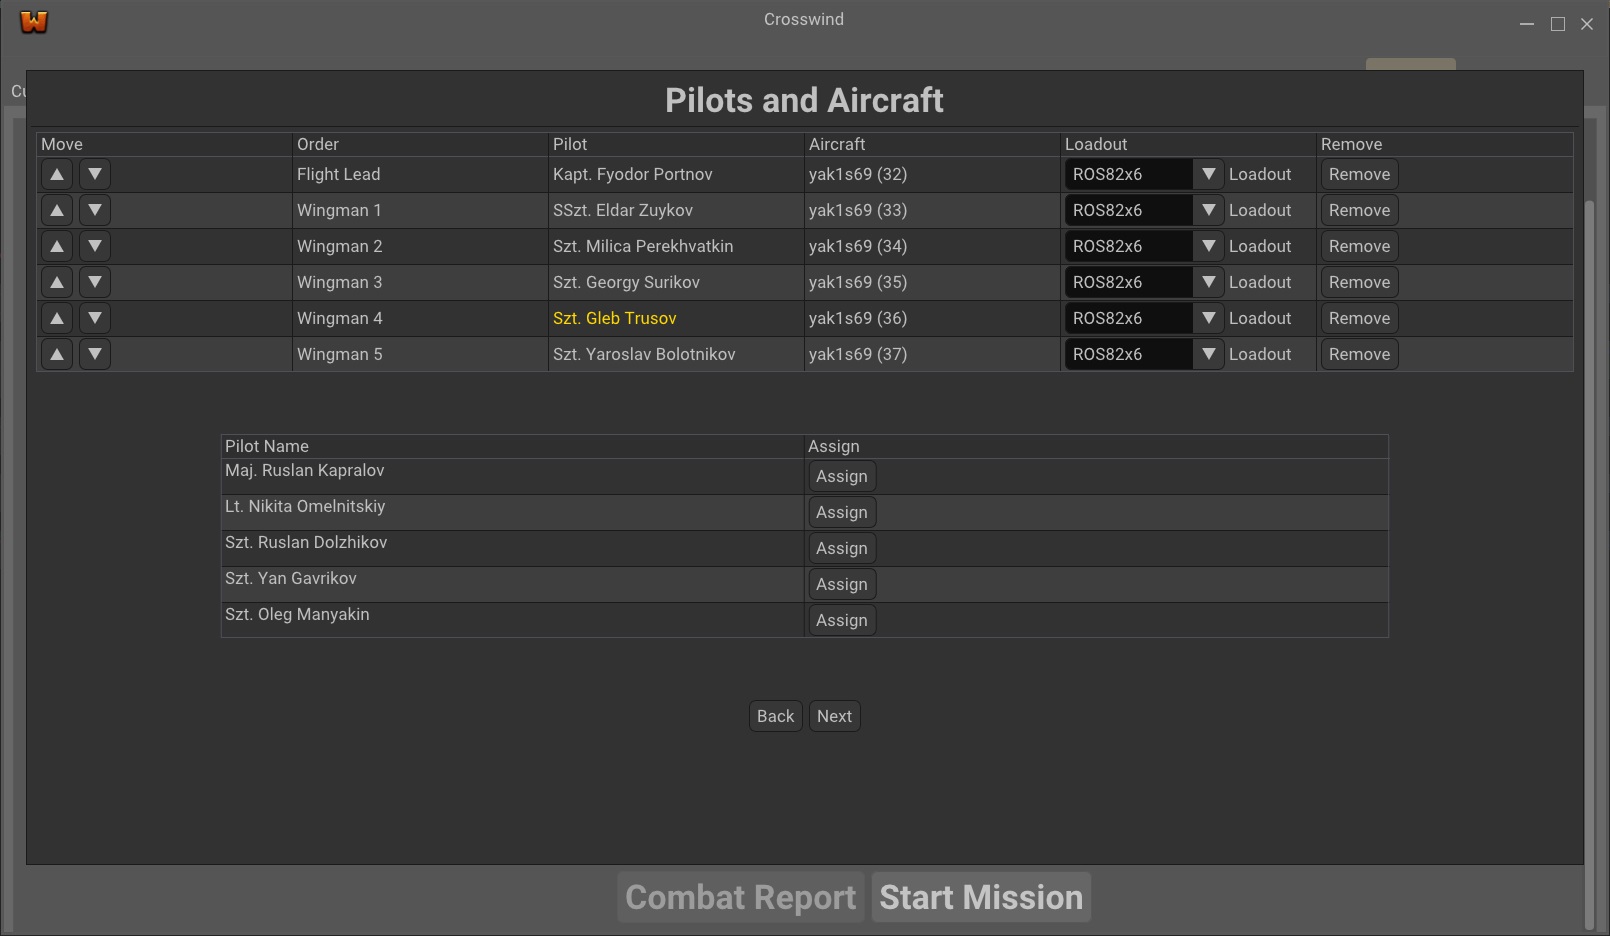
This grid system ended up being way bigger than I thought it would be, but nothing overly complex had to be done to have it work. The system, while hard to visualize in the editor because of its scale, is simple to understand. Alongside implementing the grid system I added custom logging categories, a cheat manager for console commands and a cloud actor that creates a cloud instance for easy debugging.
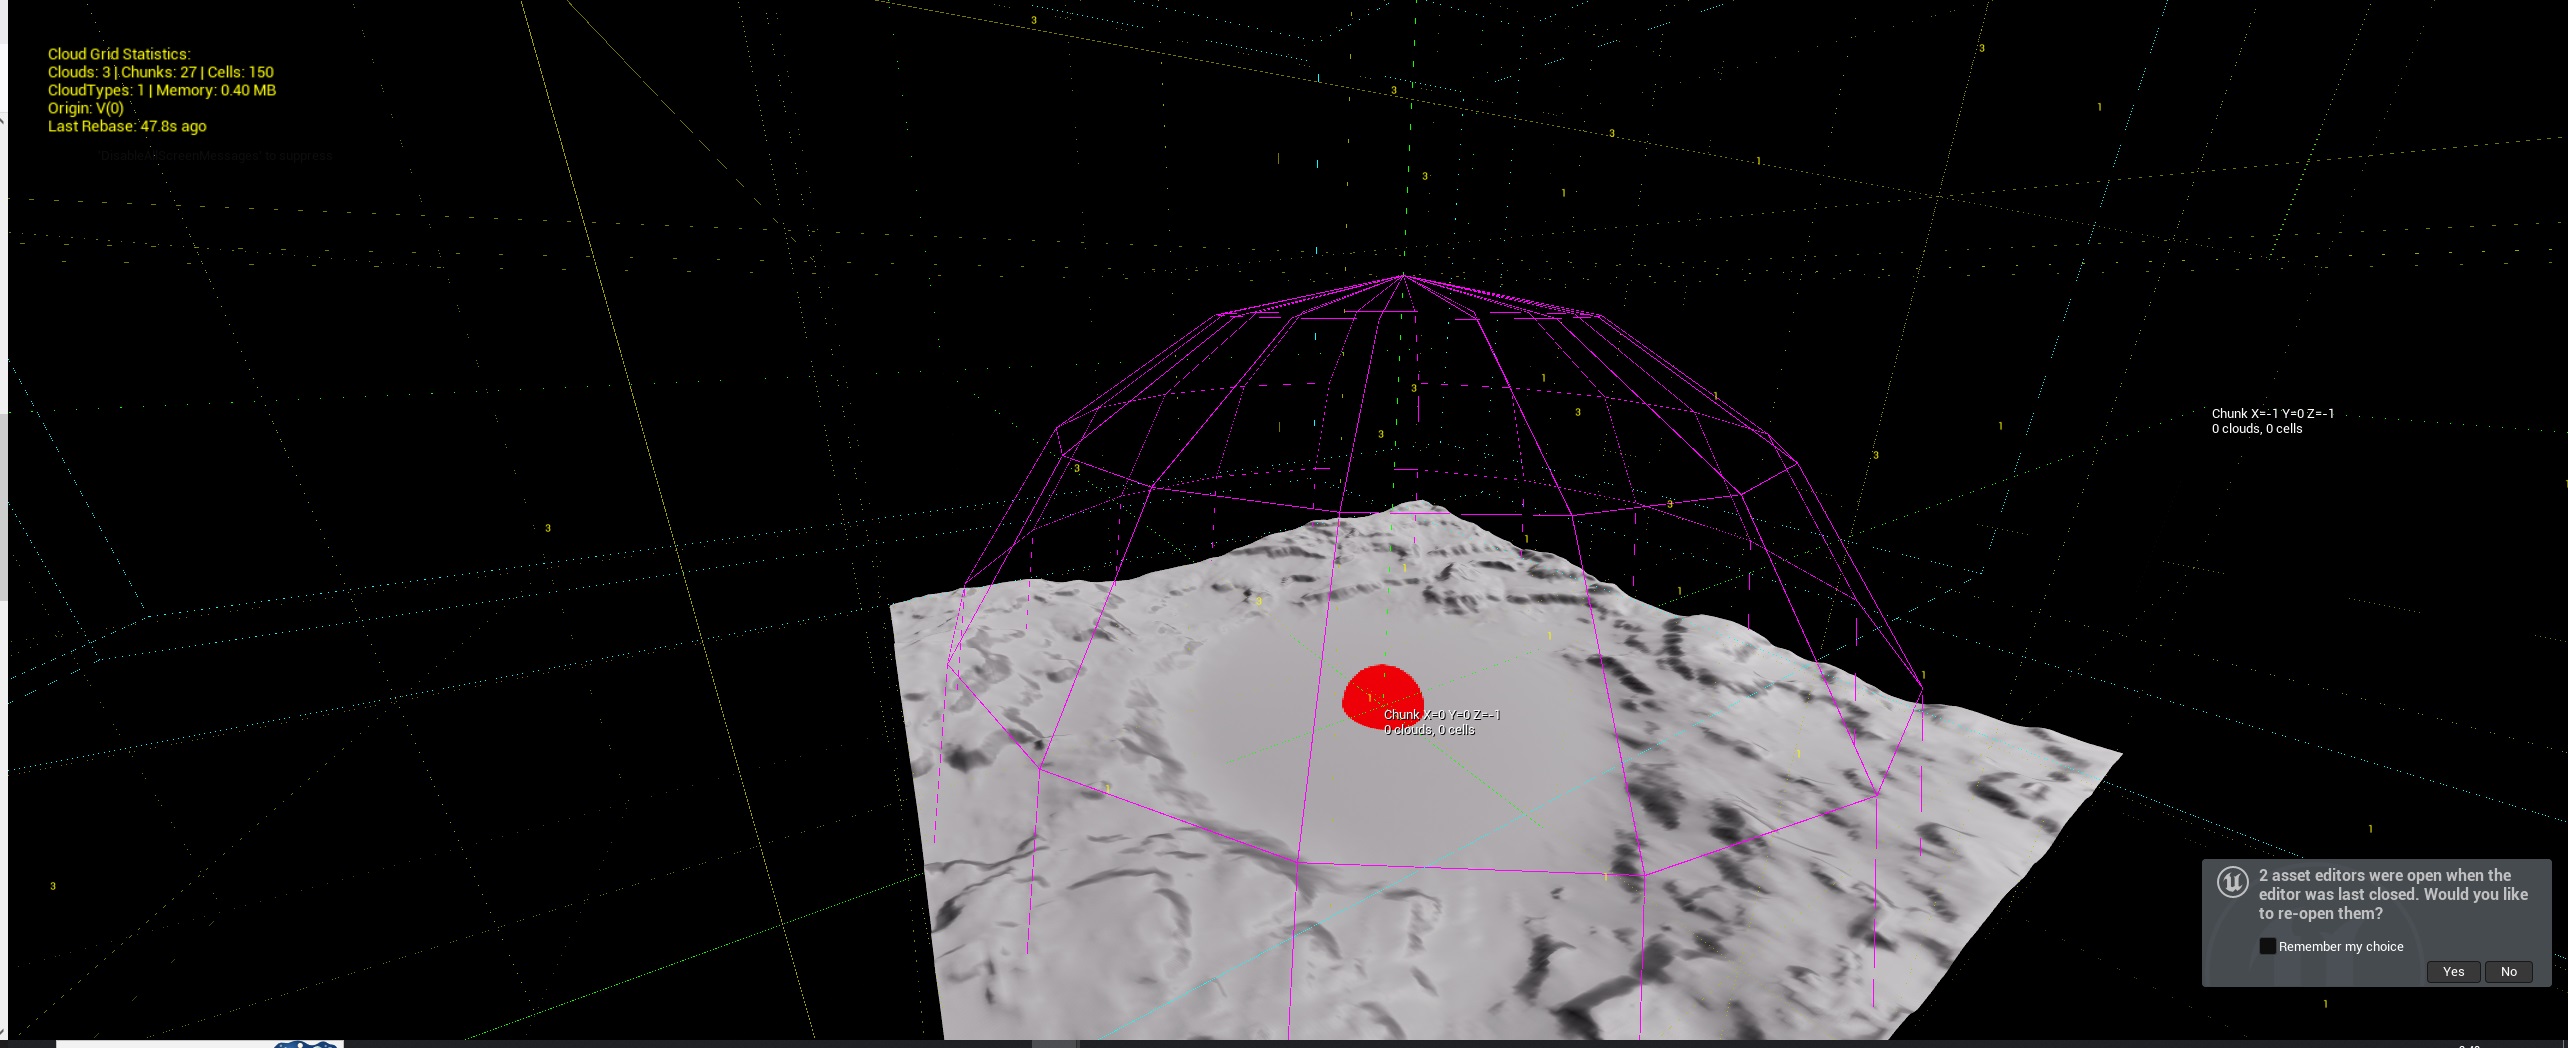
Cloud grid debug visuals
Next Steps
Next I’ll work on integrating the grid system into the shader and actually rendering some clouds! This will include working with the built in lighting and atmosphere systems to light and create shadows for the clouds.